Tag Archives: easy crafts

How to make a beaded crochet necklace!

Standard

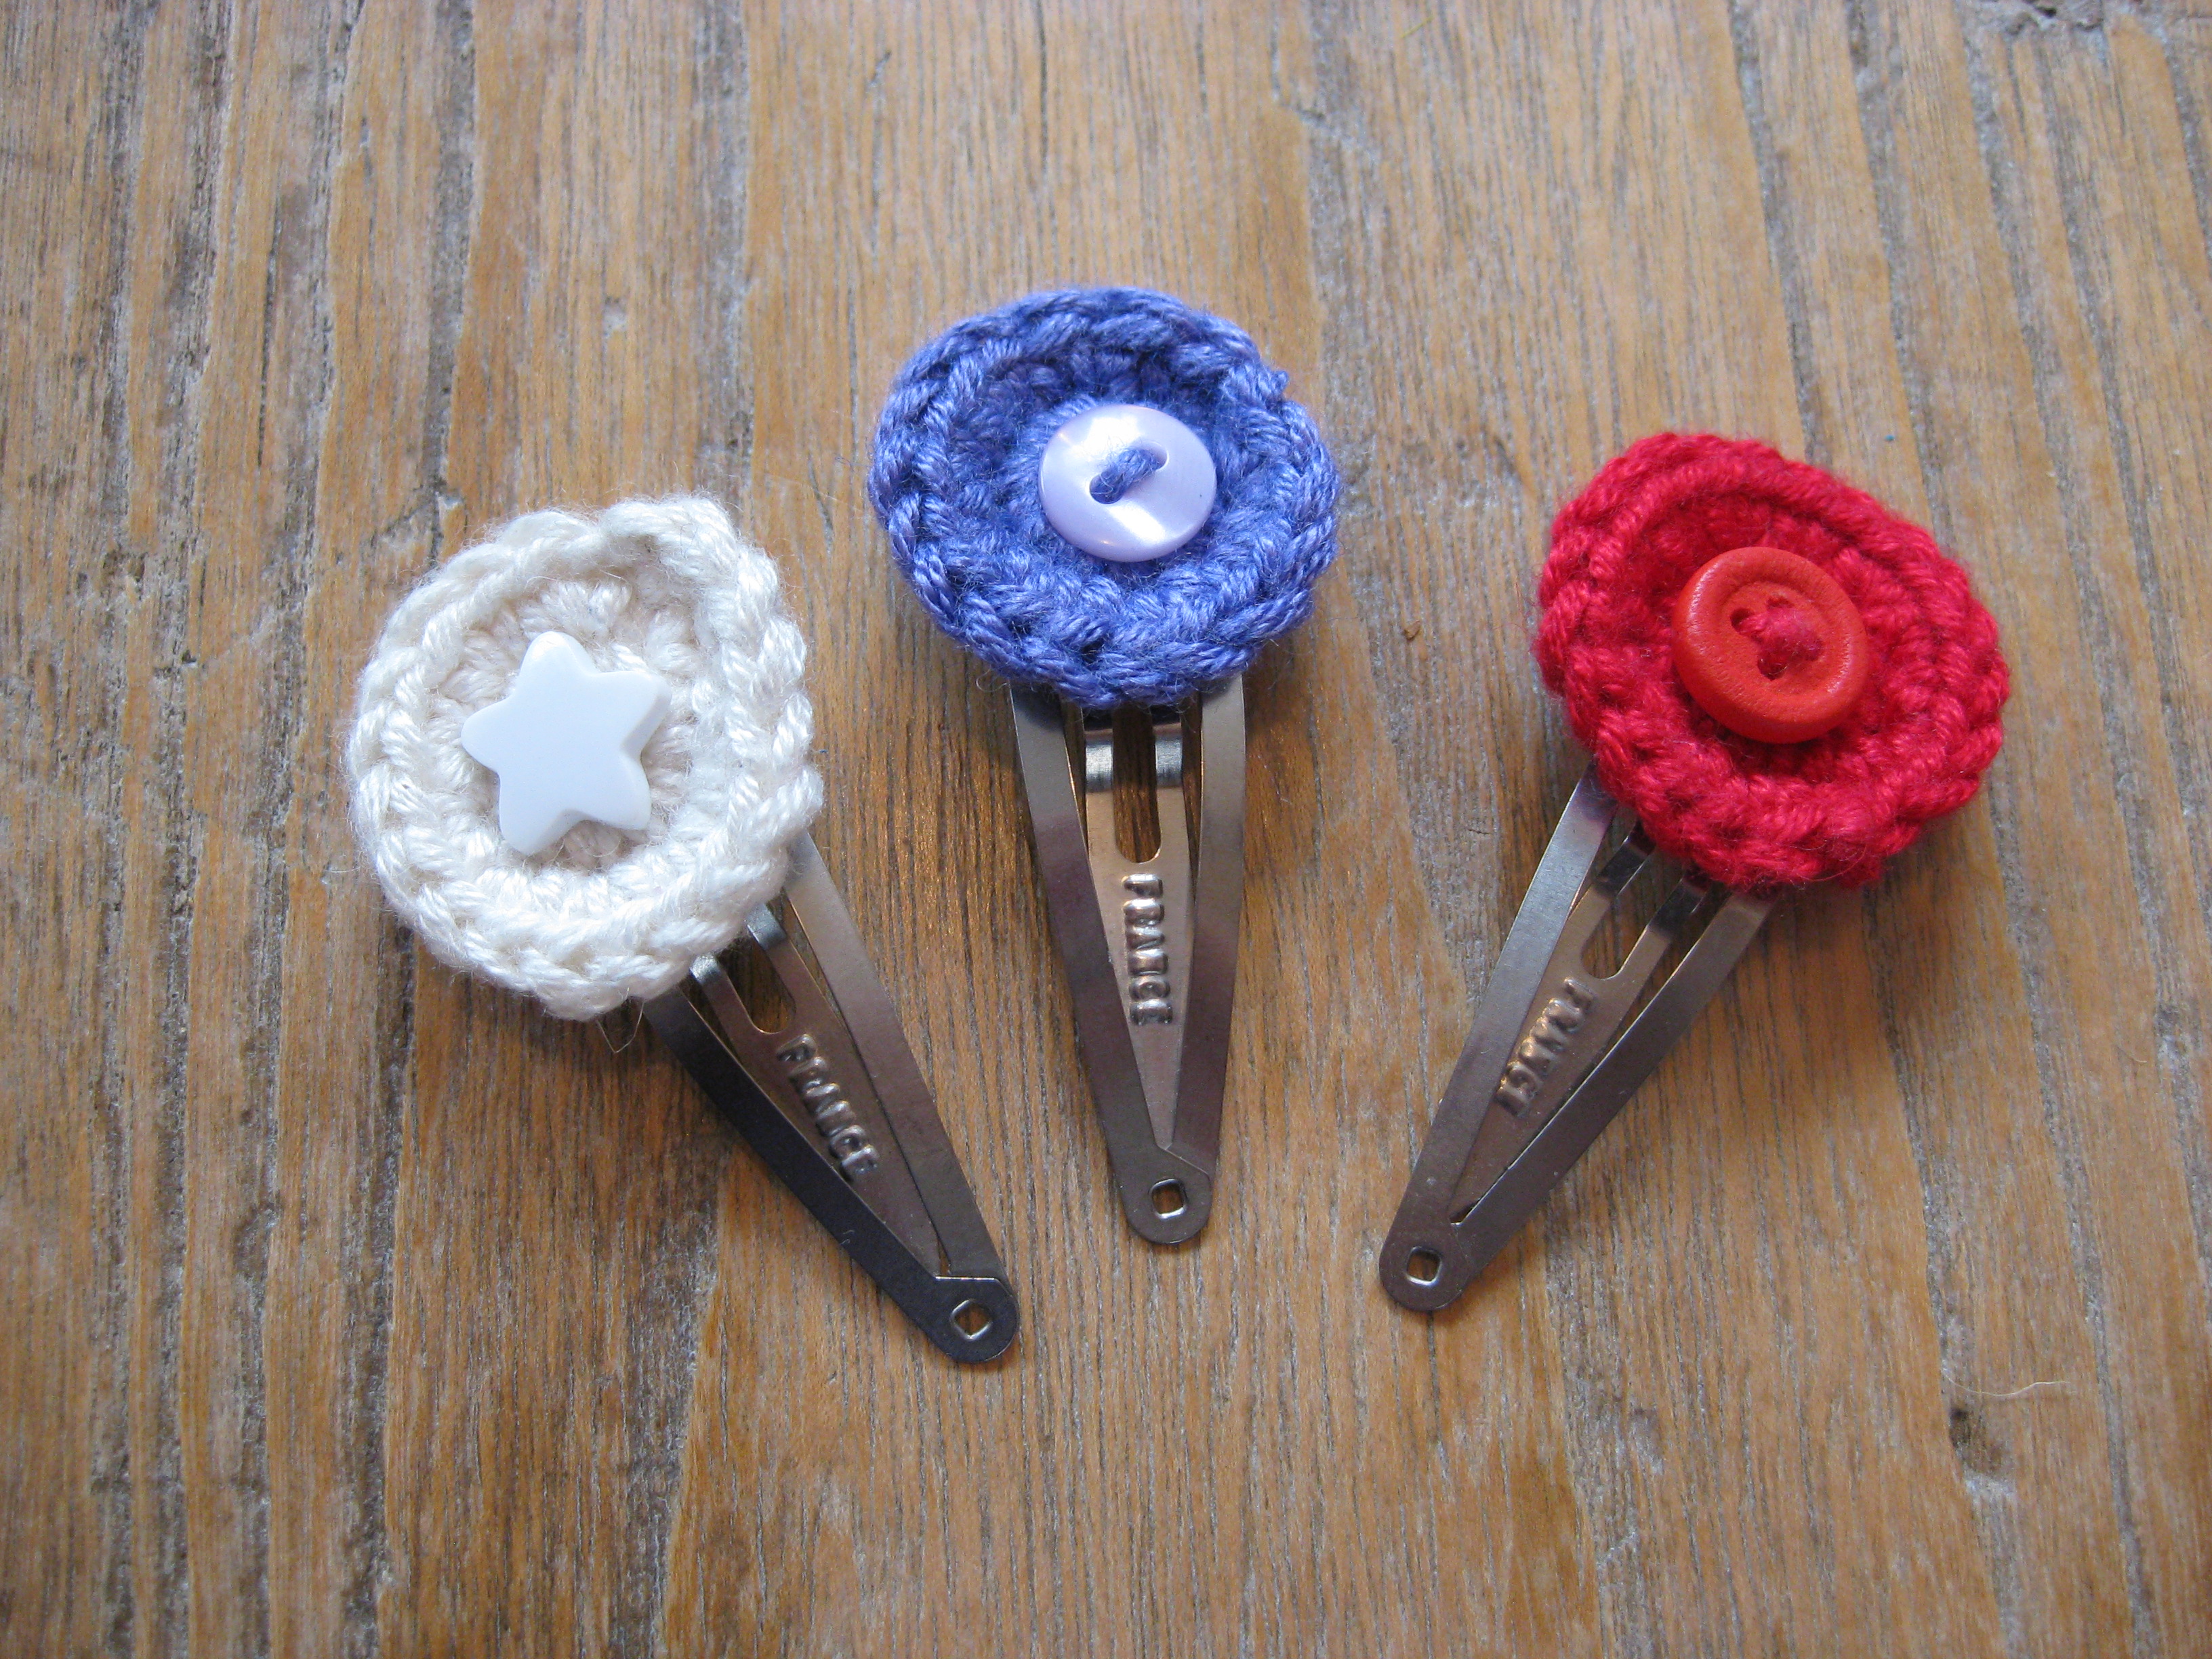
I must confess I’m new to crochet. I signed up for a beginners class in June and I’m really excited to finally learn. My best friend makes these amazing crochet hair clips with a cute button in the centre.
Crochet hairclips  IMG_2872  IMG_2883  IMG_2884
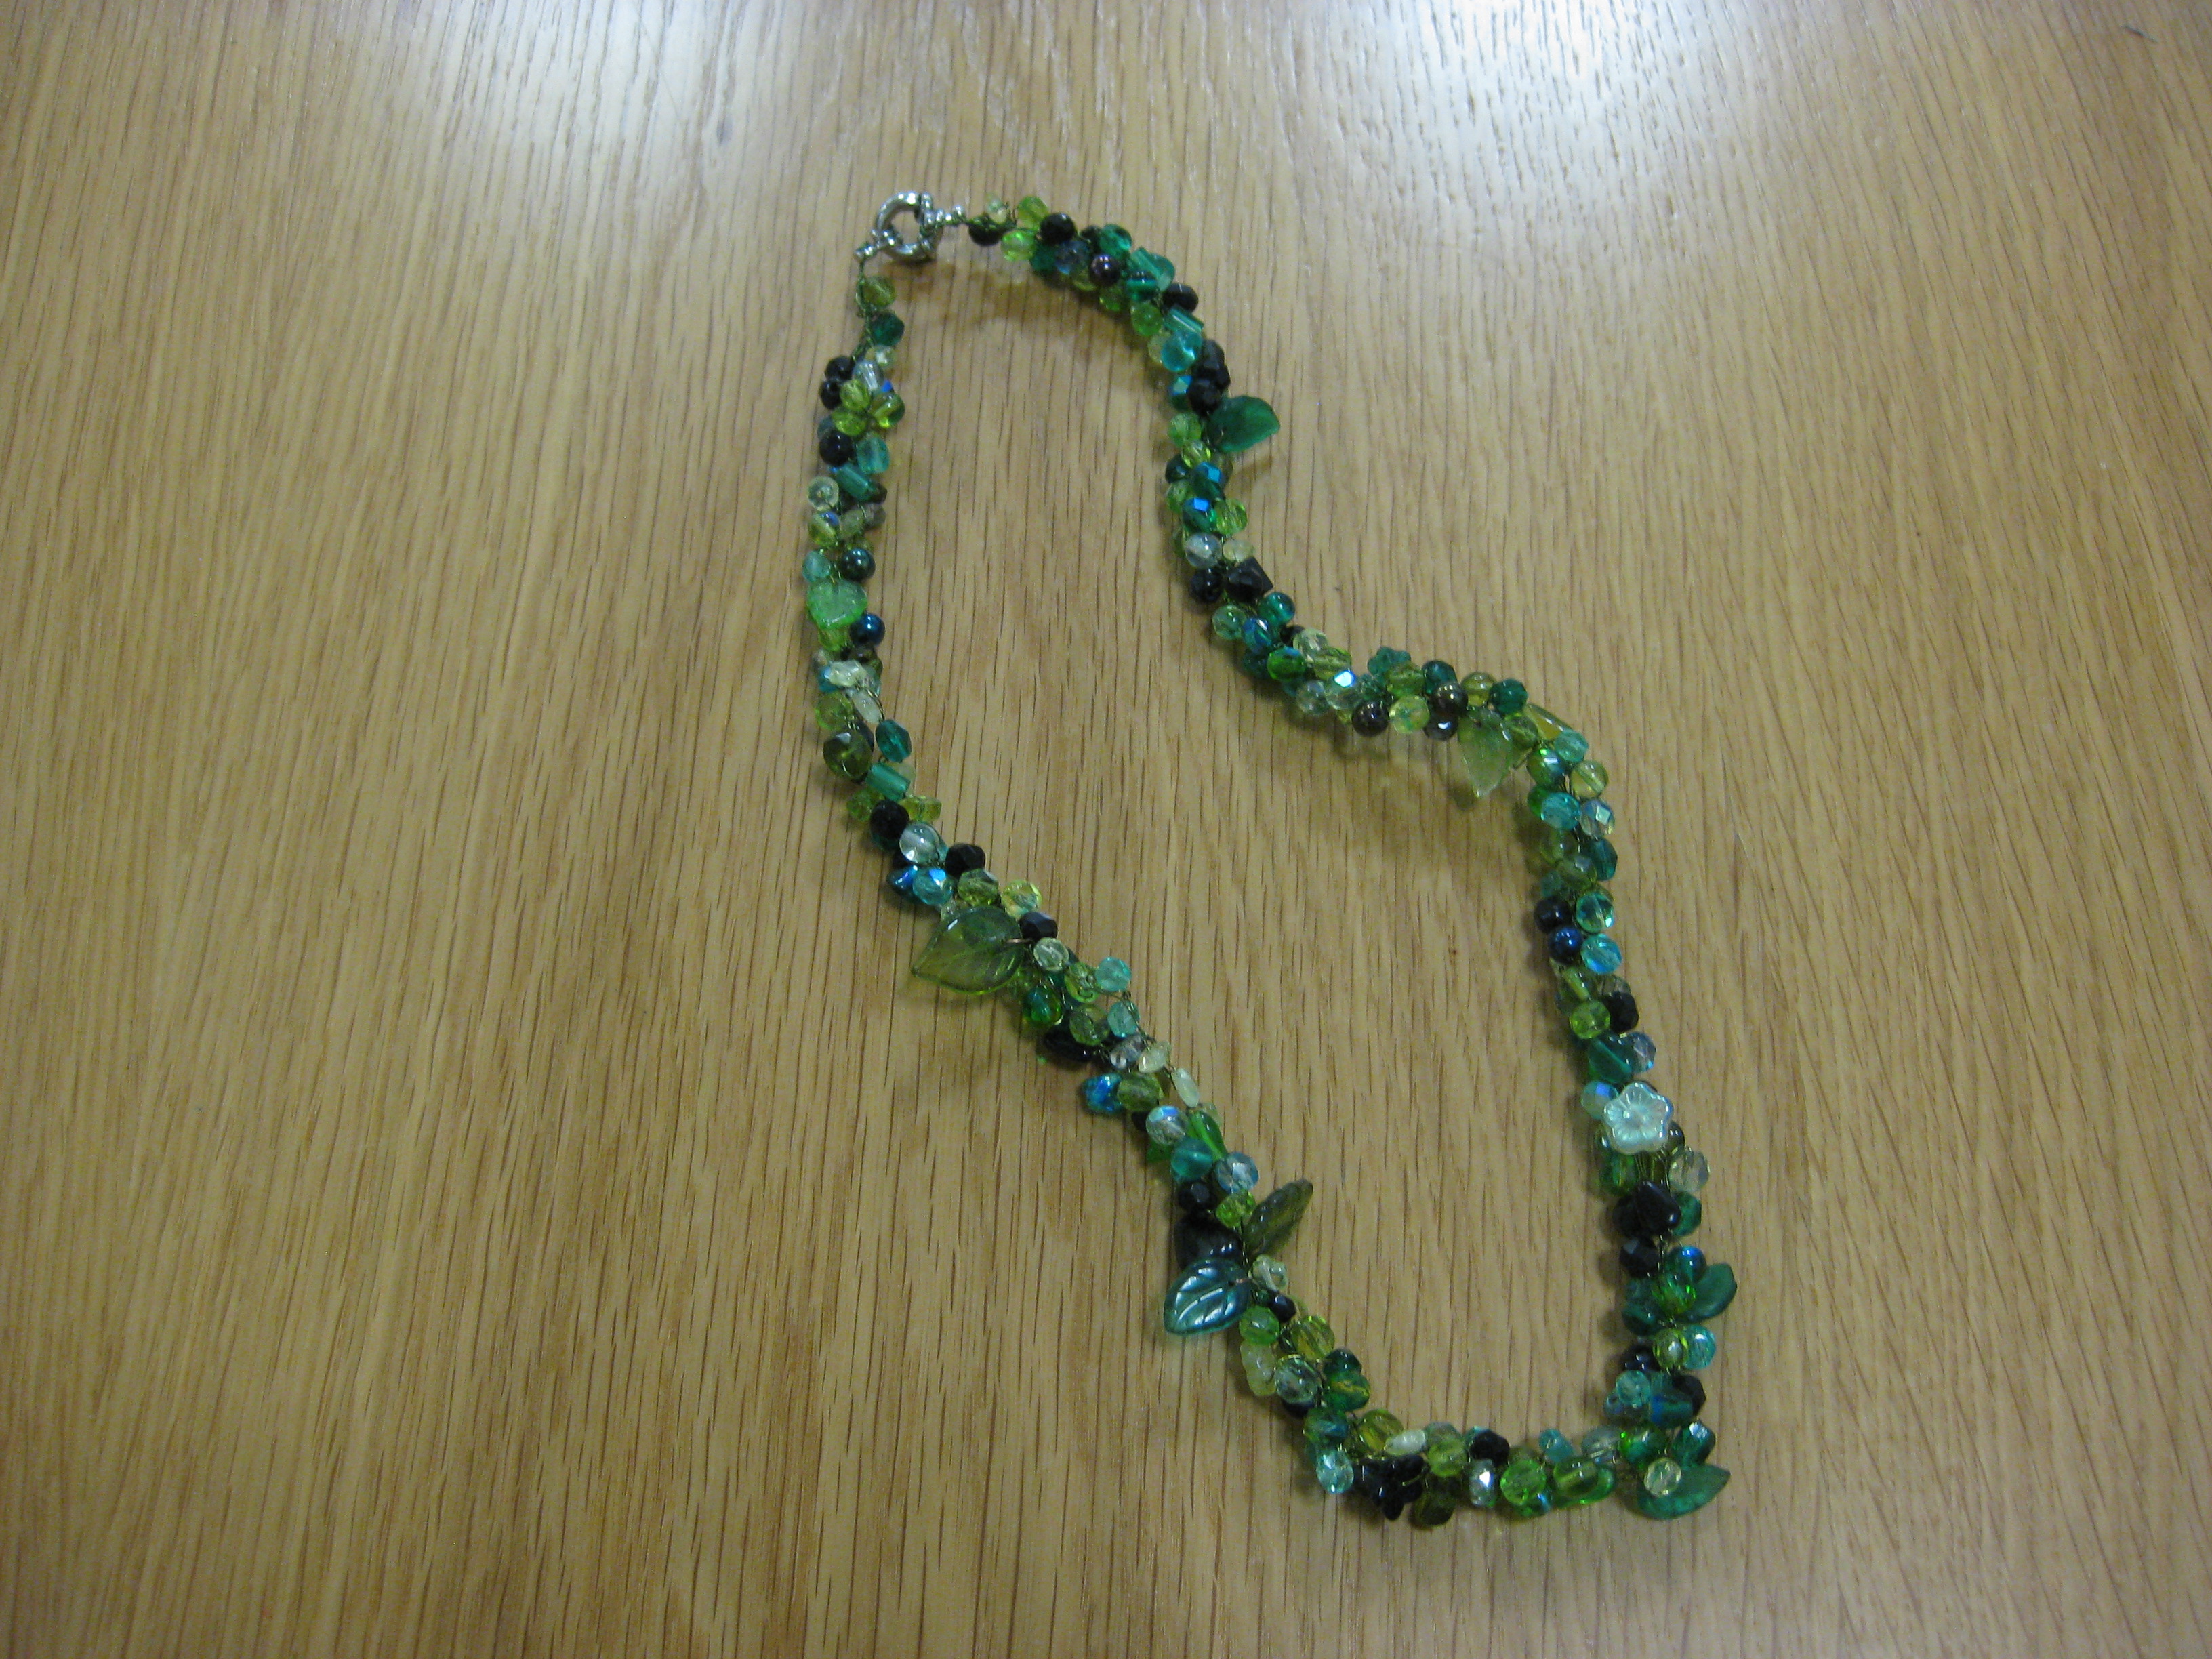
A unique alternative to wool crochet is to use jewellery wire and beading to create this fabulous crocheted necklace! Ideal as a present or as a gift to yourself, it couldn’t be easier to make!

You will need: wire, beads, clasp, jewellery pliars

Here’s how:

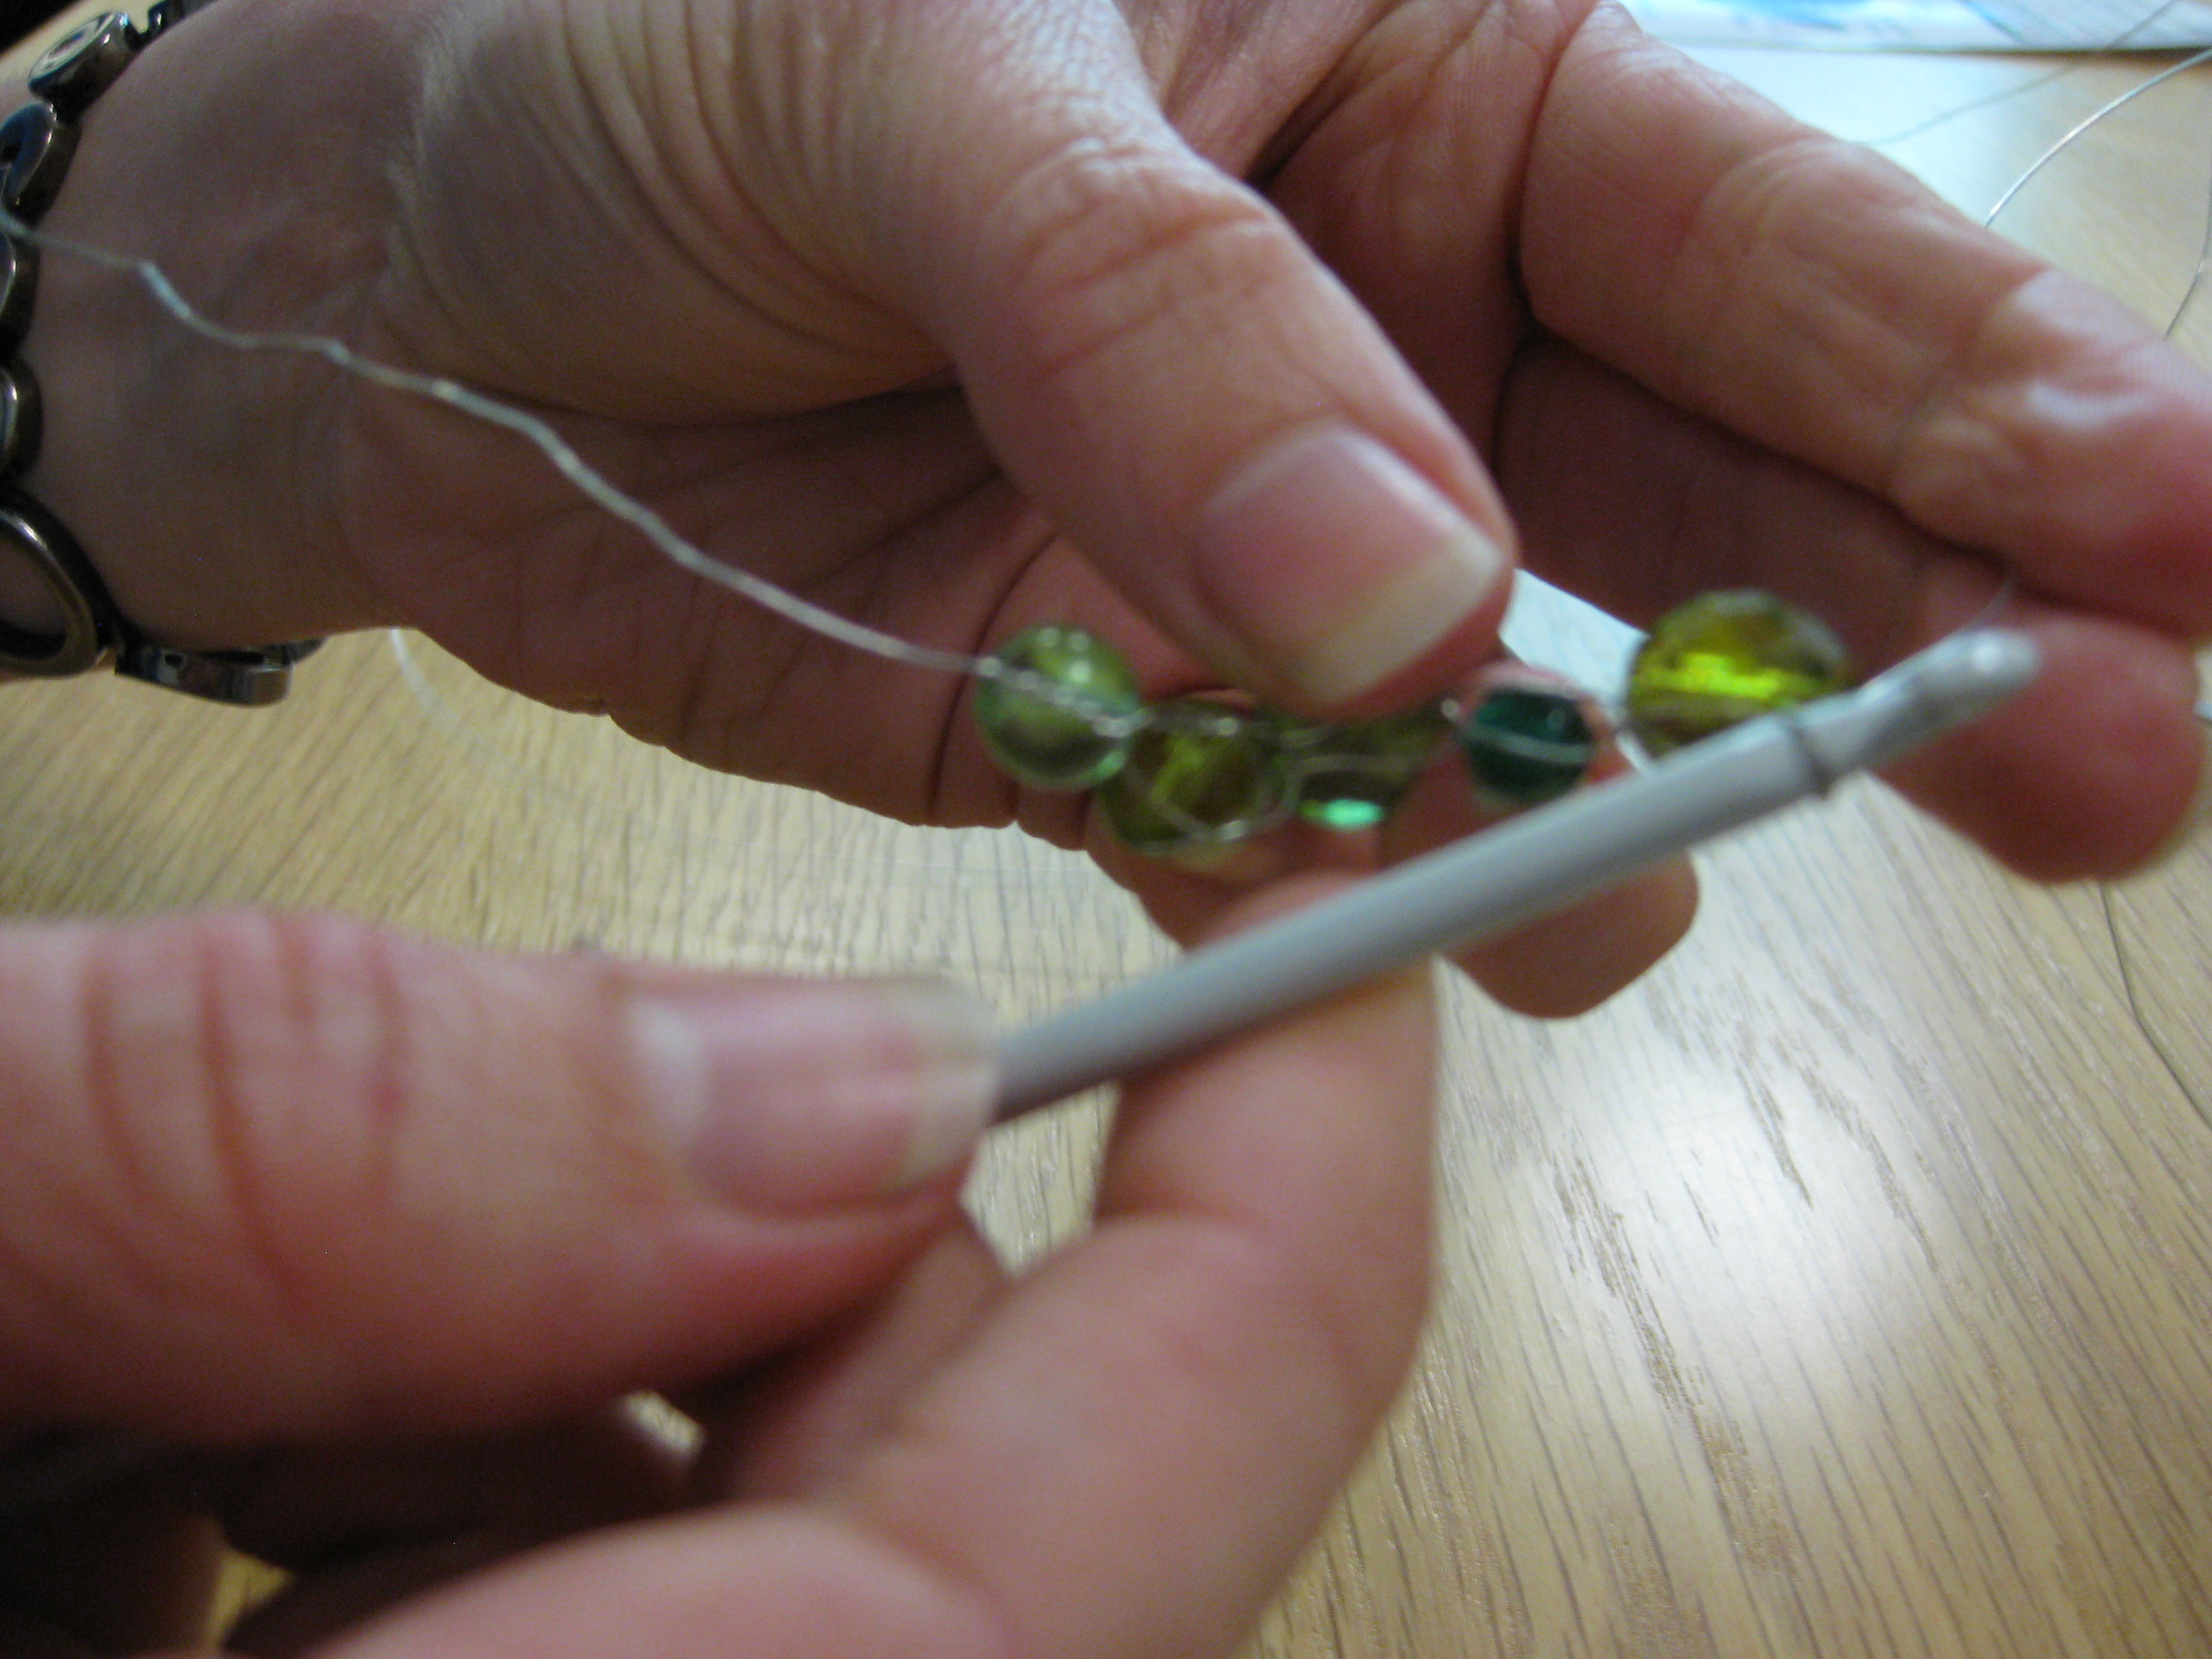
  • Crochet 3 strands of beads onto thin wire using a chain stitch (I used a 4mm crochet hook)
  • See YouTube video below on how to chain stitch using jewellery wire
  • Remember to leave a tail at the end to attach the clasp!
  • After each chain stitch thread a bead onto the wire until you have 3 chain stitched bead strands
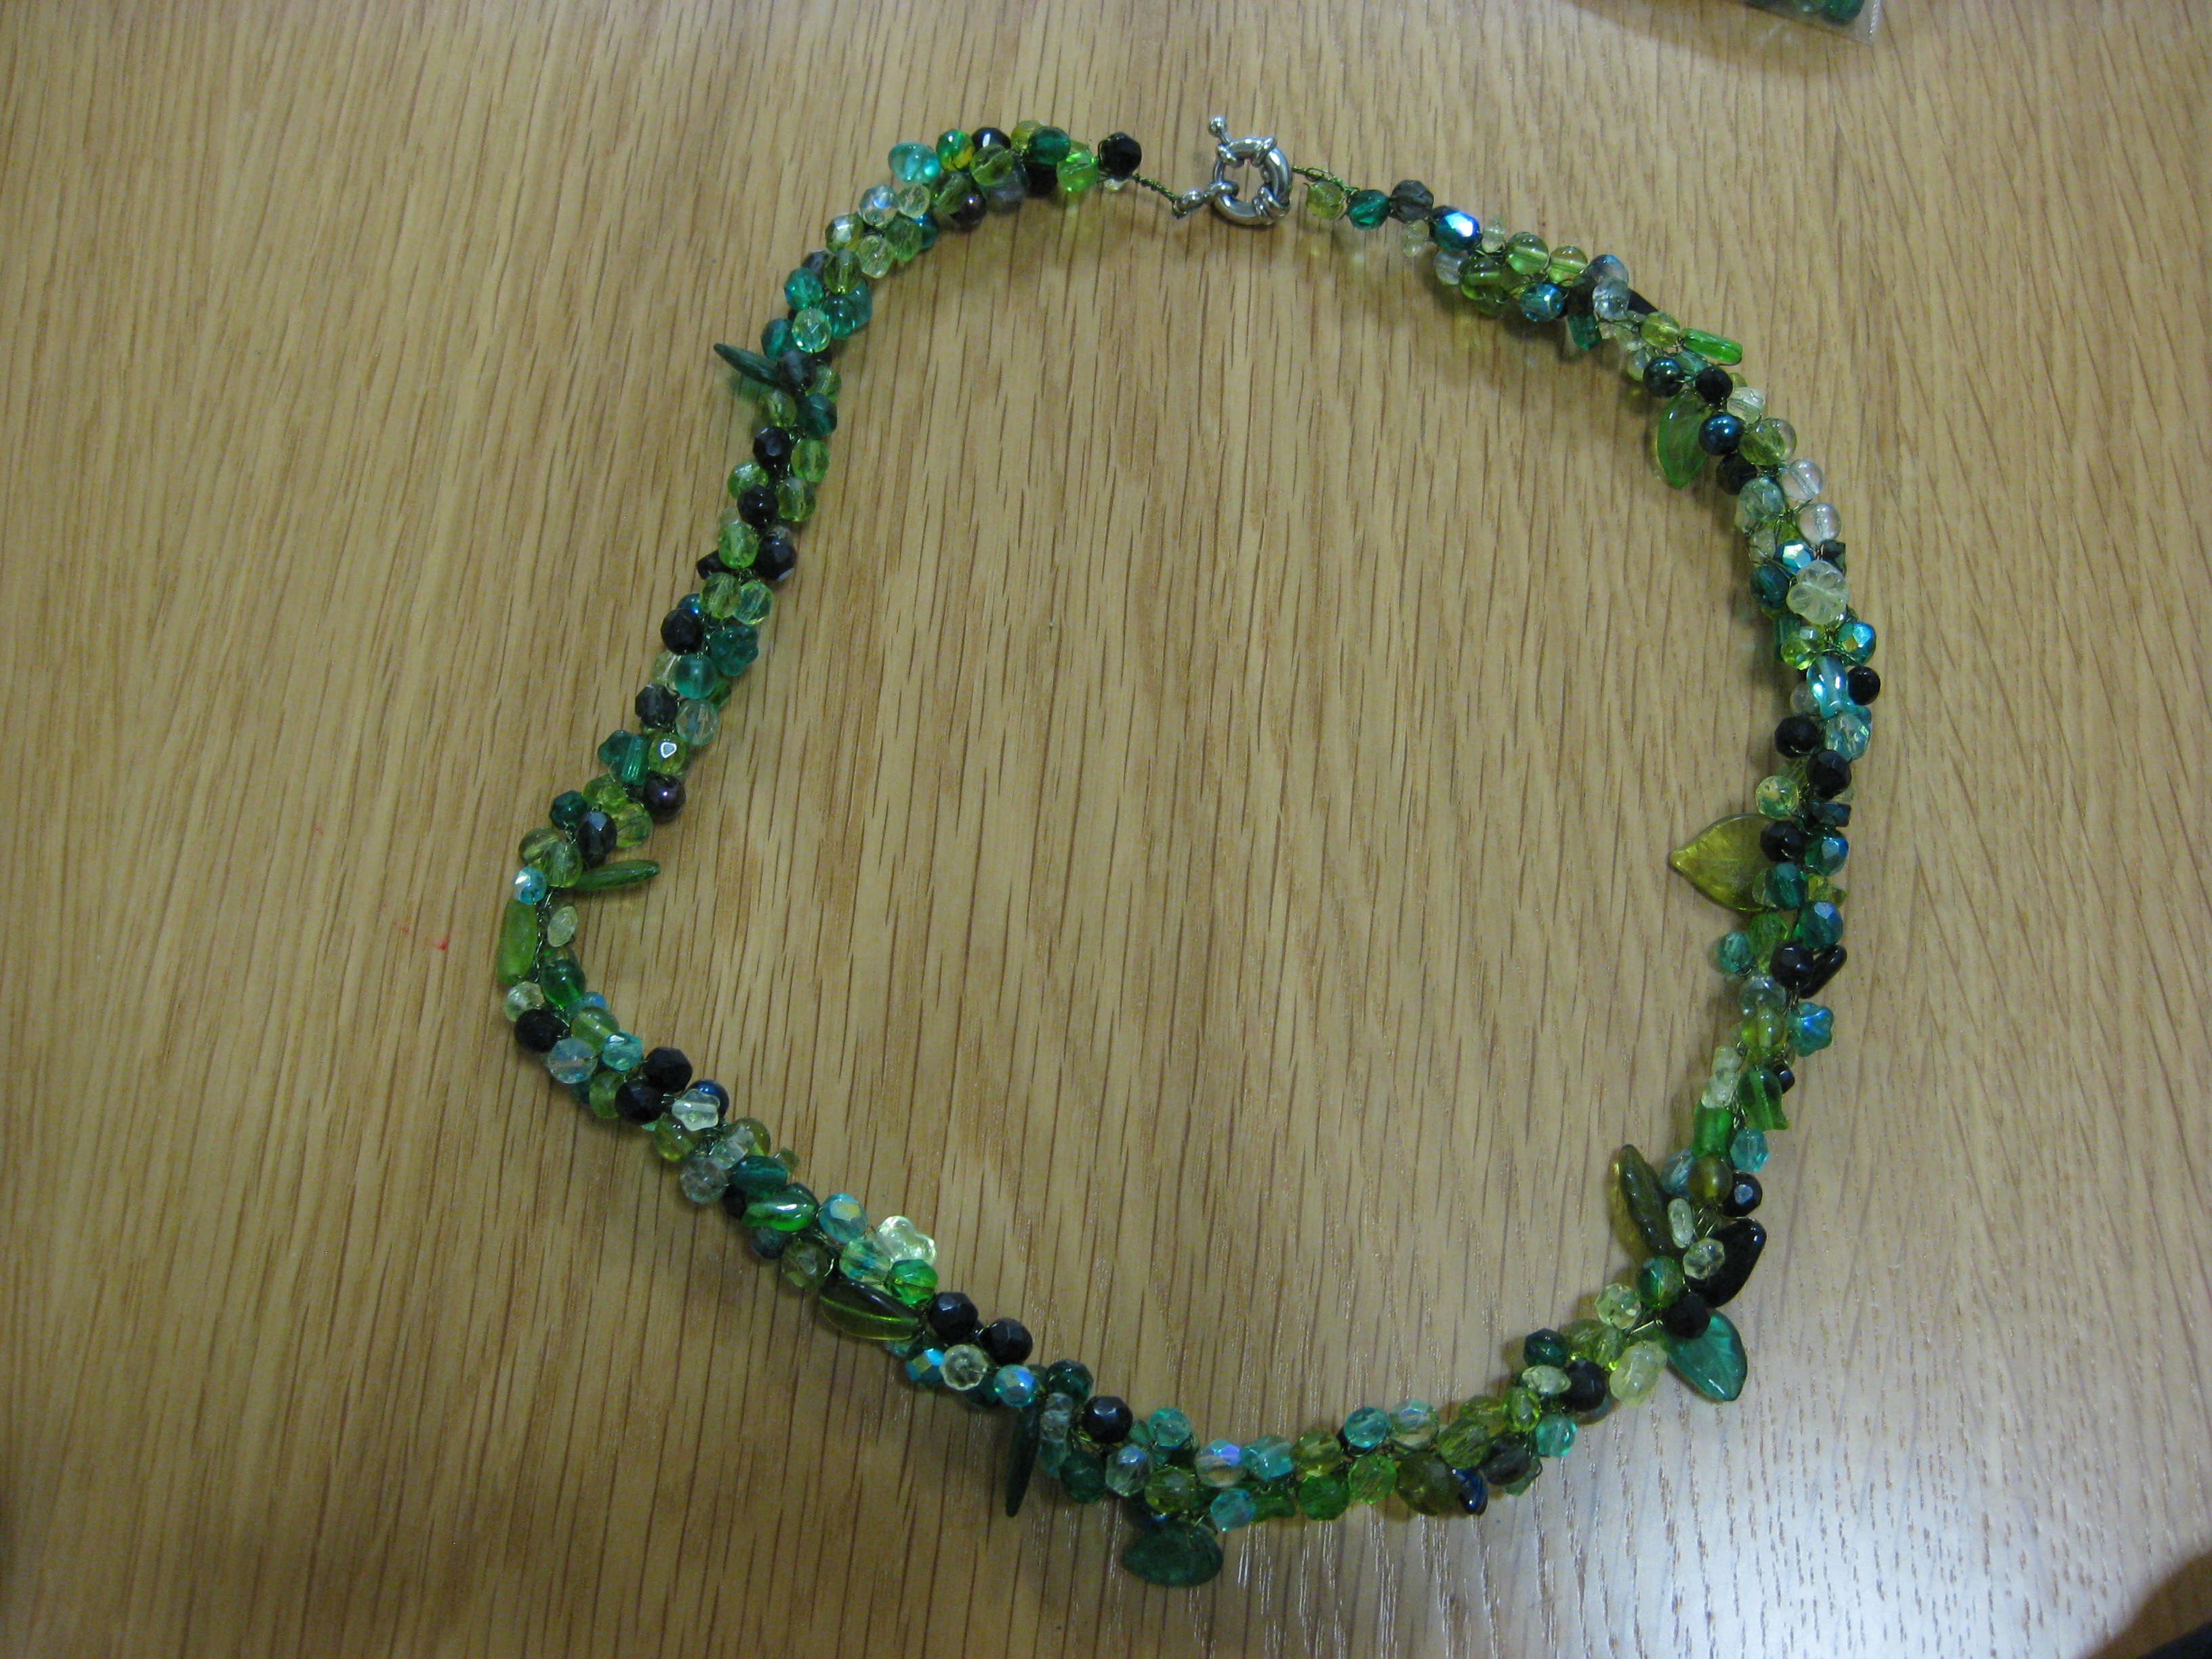
  • Intertwine all 3 strands together
  • Attach the jewellery clasp


The finished product:

IMG_2879  IMG_2875

While we’re on the subject of crochet, I just had to share these amazing crochet ‘shell suits’ for tortoises! Designed and made by Katie Bradley, who initially made them as a family joke but they became so popular she opened an Etsy tortoise shop. I’m sure you’ll agree, they are absolutely adorable!

How to make simple hair accessories!

Standard

Hello lovely friends!

I’ve been really busy at work so haven’t had much time to devote to craftiness! I did make these simple hair clips using scraps of floral material I had in the house. The wonderful thing about altering vintage (or new) dresses is that you usually have leftover fabric to make cute matching accessories! What better use for fabric odds and ends?

IMG_2863  IMG_2889b  IMG_2890  IMG_2891

I’ve used metal self-cover buttons but you can use plastic ones too.

Here’s how:

  • Cut out a circle of pretty fabric larger than the button size and sew a gathering stitch close to the fabric edge
  • Position the button top onto the wrong side of the fabric
  • Tie the ends together and pull the fabric until it gathers around the button
    Tip: I use spray mount glue to attach the fabric to the metal for slippery fabrics
  • Position the back onto the front, make sure the gathered fabric on the edge of the button is smooth with no tucks (unlike mine!) and snap it closed
  • Attach a hair clip or bobble (piece of elastic) to the back of the button and hey presto you have a new hair accessory!

Covered buttons make lovely gifts and can be used for card making too!

IMG_2867    IMG_2865

Next week I’m going to make a beaded crochet necklace on my lunch break.